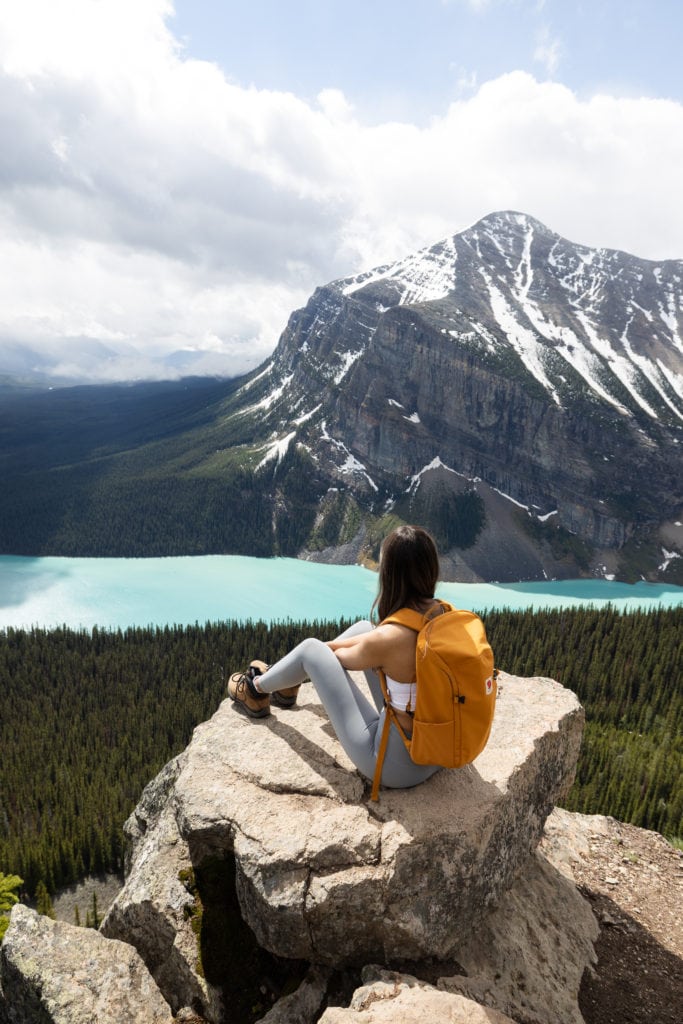
Banff National Park should be on everyone’s bucket list! It’s right in the heart of the Canadian Rockies and completely surrounded by mountains, glacial lakes, and cozy hot springs. On our last trip to the Rockies we felt so sad leaving, that we ended up moving out here 3 months later!
Now as a local, I’ve put together my ultimate 6 day Banff itinerary full of everything I think you need to see on your next visit to Banff. I’ll take you through all my favorite hikes in the area, tons of crystal clear blue lakes, and a few hidden hot springs in the mountains.
This jam packed Banff itinerary will have you falling in love with this place in no time!
Day 1: Moraine Lake
Sunrise at Moraine Lake
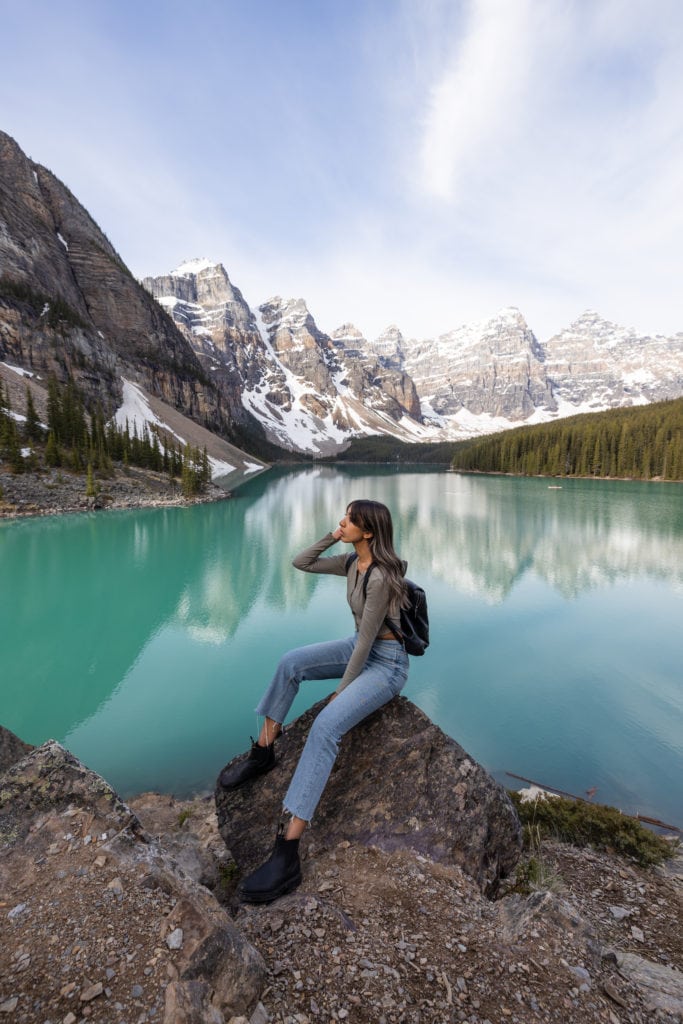
It’s really no surprise that Moraine Lake made the first spot on this Banff itinerary. It’s possibly my favorite view in all of the Canadian Rockies and has some of the bluest water I’ve ever seen. I always recommend coming to see this one for sunrise (even if you’re not a morning person) because it’s best to experience it before the crowds hit.
Not to mention the lake is usually really still in the early mornings, giving off this amazing reflection of the Valley of 10 Peaks.
Getting there
To reach Moraine Lake you just have to drive down a 13km well paved road from Lake Louise. This road is only accessible during peak season, and is open from mid-May to mid-October (usually from the Tuesday after Victoria day to the Tuesday after Canadian thanksgiving).
Outside of these dates the road is closed to vehicles because of the high avalanche risk.
There’s a small parking lot just in front of the lake which often fills up by sunrise and remains full throughout the day. So, really, this leaves you 2 options during peak season:
- Arrive well before sunrise to snag a parking spot
- Book the shuttle in advance
Booking the Moraine Lake Shuttle
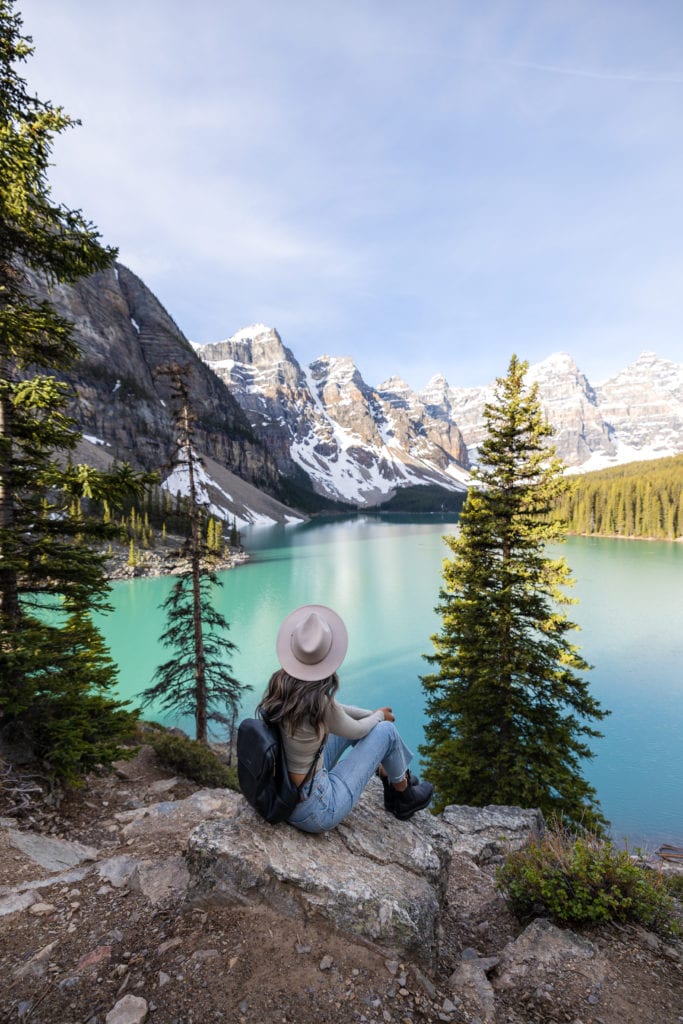
A seat on the shuttle can be booked through the Parks Canada reservation system. Keep in mind that you have to book in advance and cannot just show up the day of. Reservations can be made starting April 28th for the summer season (May to October).
Head up the Rockpile Trail
While there is a trail that runs along the shoreline, I’d recommend heading up the Rockpile Trail to get the best view of the lake. It’s an easy 800 meter walk that involves a few stairs but only takes a few minutes to get up.
You can find the trailhead just in front of the washrooms across the parking lot.
Hike to Consolation Lakes
Difficulty: Easy
Distance: 6.1km out and back
Elevation gain: 250 meters
Season: May to October
Dog friendly: Yes, on leash
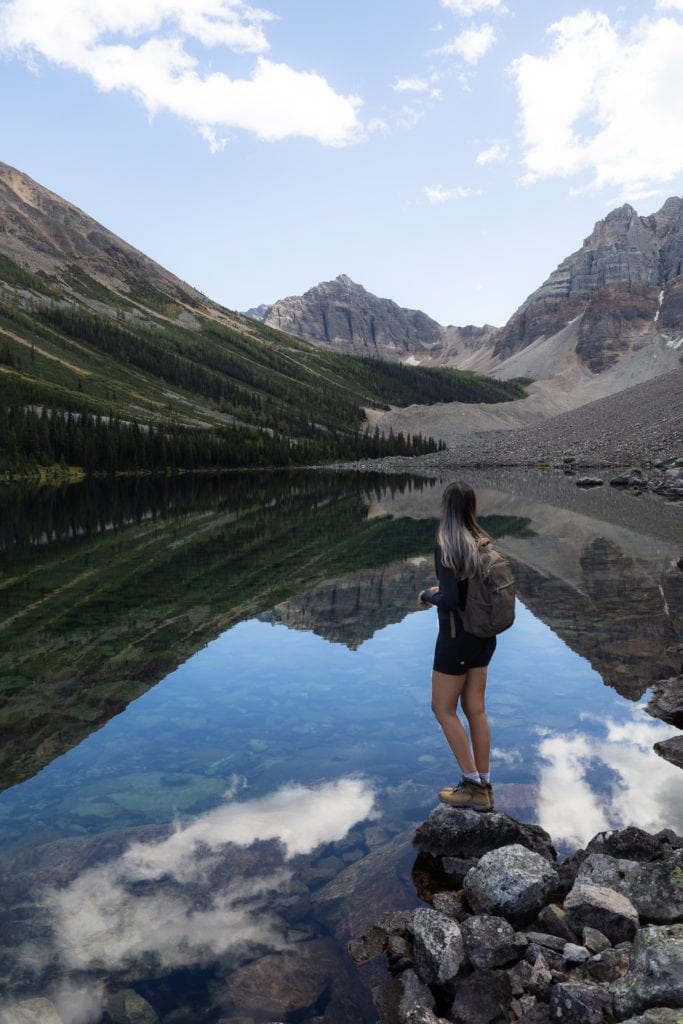
Did you know there are so many trails that stem from Moraine Lake? They all vary in difficulty, but are arguably as beautiful as the lake itself. It’s also a great way to escape the crowds, as a surprisingly small amount of people venture further out to the trails.
Consolation lakes is one of the easier hikes in the area and takes about 2 hours to complete. It’s well groomed and relatively flat, making it a great option for all skill levels.
There is a small boulder field you’ll have to cross just before you head into the forest, but it’s quite easy to navigate.
Where to find the trailhead.
The trailhead begins about halfway up the Rockpile Trail, just after you cross the wooden bridge. There’s a sign indicating the start of the trail, as well as a bear advisory, that recommends you hike in a group of 4.
If you do decide to hike in a smaller group (as we did), just be aware of your surroundings and carry bear spray along the trail.
Note: if you’re looking for more of a challenge, definitely check out Sentinel Pass, or scramble up the Tower of Babel (helmet and poles highly recommended for this one).
Day 2: Explore Lake Louise
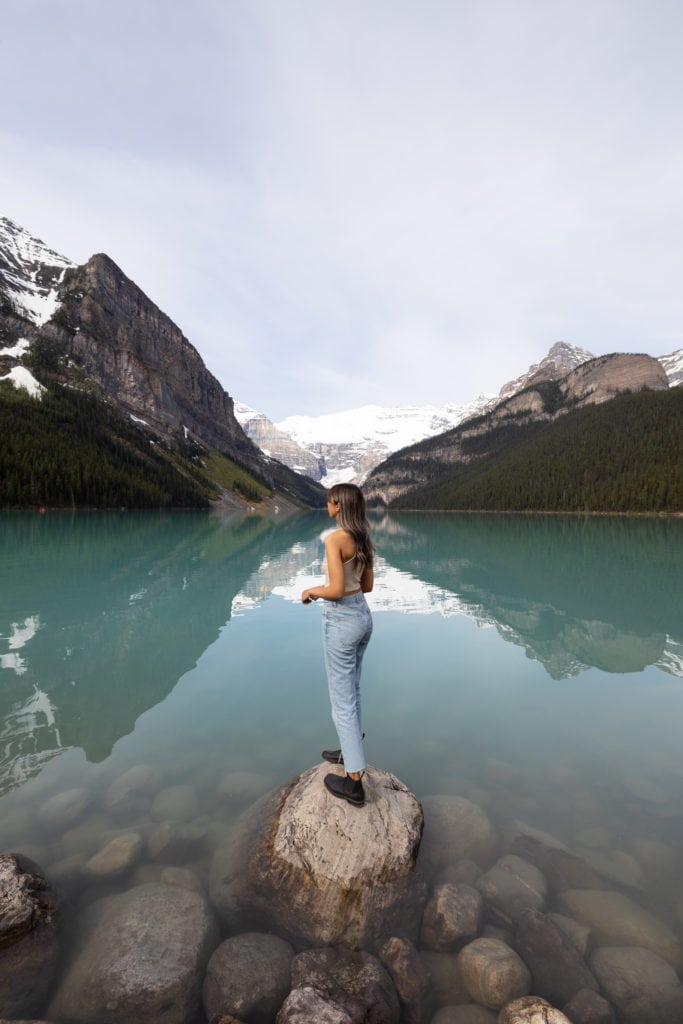
Just a 40 minute drive from Banff, Lake Louise is a classic view that you don’t want to miss. It’s also incredibly easy to get here, as it’s right off highway 1 and just a short walk from the parking lot.
I’d leave an entire day for this one, as there are a few hikes you can do from the Lake. You can also rent a canoe from the boathouse (located on the west side of the lake) for $135 per hour.
If this sounds a little outside of your budget (as it was for us) you can get an equally amazing view just by walking along the shore and hopping out onto the rocks.
Parking at Lake Louise
Finding a parking spot at Lake Louise is relatively easy going (especially compared to places like Moraine Lake). Not only is there a large main lot, there’s also an overflow parking lot which makes it a lot easier to snag a space.
That being said, both lots can still fill up during peak season.
Paid parking system in effect.
While the lot is open year round, there is now paid parking in effect from June to mid-October. You can find the pay stations at both the main lot, and the overflow parking lot.
A ticket costs $12.25 and is valid from 7am to 7pm that day.
Note: this paid parking system is in addition to your national parks pass – you’ll need both to visit (more on that below).
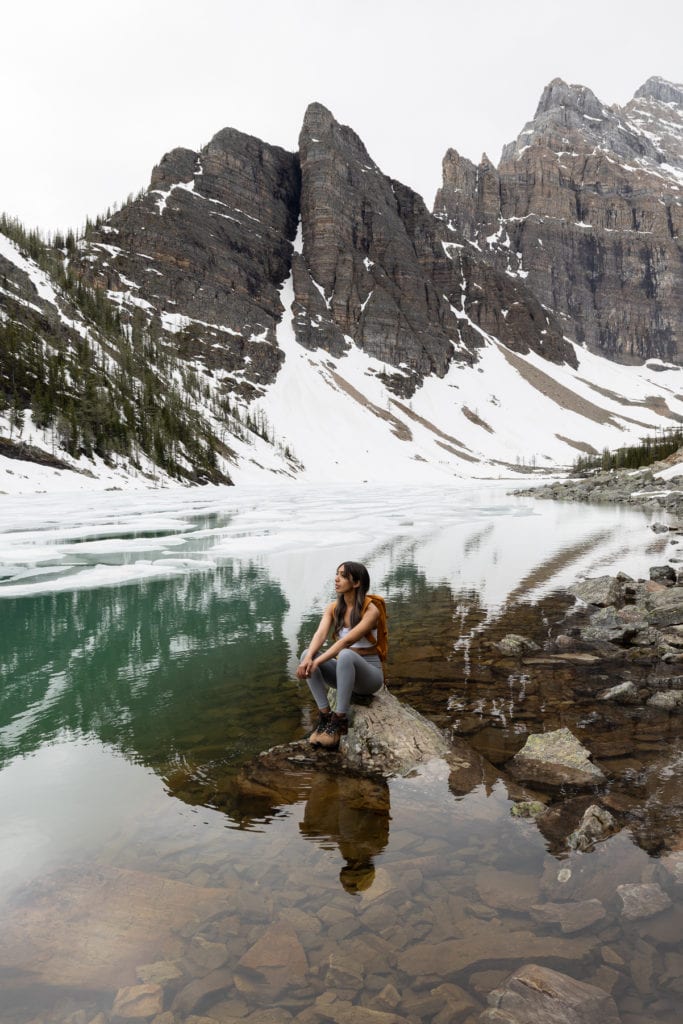
Hike to the Lake Agnes Teahouse
Difficulty: Moderate
Distance: 7.4km out and back
Elevation gain: 435 meters
Season: Year round
Dog friendly: Yes, on leash
The trail to Lake Agnes will take you not only to a stunning alpine lake, but also to a cozy teahouse in the mountains. This was actually my first teahouse hike, and it definitely did not disappoint. Having some home cooked snacks and hot tea at 7000 ft was just perfect after the hike up.
Where to find the trailhead.
You’ll find the trailhead just to the right of Lake Louise. Walk along the paved walkway for about 200 meters until you come to a fork in the path. Here you’re going to want to keep right, where the trail will begin to ascend.
The trail will take you up through a forested area, and is steep enough to work up a sweat. Follow signs for Lake Agnes until (eventually) you’ll reach Mirror Lake. From here it’s only another 15-20 minutes until you’re at Lake Agnes and the teahouse.
Note: there are 2 ways to head up to Lake Agnes from Mirror Lake. I’d suggest keeping right as it’s a bit more of a gradual incline, and the views are more scenic in this direction.
Pit stop at the teahouse
You’ll find the teahouse just across from Lake Agnes. It operates from early June to mid-October, and is open from 8am to 5pm. They accept both cash and credit card, however we noticed a sign that said they prefer to take cash – so be sure to have some on hand.
My suggestion? Try some maple tea when you’re up there – it’s the perfect Canadian beverage, especially on a chilly day.
Continue to the Little Beehive lookout

If you can only fit one hike into your Banff itinerary, I’d say this should be the one. The Little Beehive lookout is just another 1 km up from the Lake Agnes teahouse. It’s definitely worth the extra stretch as the views from up here are seriously stunning.
At the top you’ll get a birds eye view of Lake Louise, where the water somehow looks even more vibrant.
Where to get the shot
About 3 minutes from the top, keep your eye out for a break in the trees where you can find this picture perfect boulder. It’ll be on your right side (going up) and is pretty easy to find if you’re looking out for it.
You’ll get a great unobstructed view of Mount Fairmont from here, as you look down onto Lake Louise. Keep in mind however, this spot is pretty well known, and you’ll likely be sharing it with others.
Day 3: Yoho National Park
Canoe around Emerald Lake
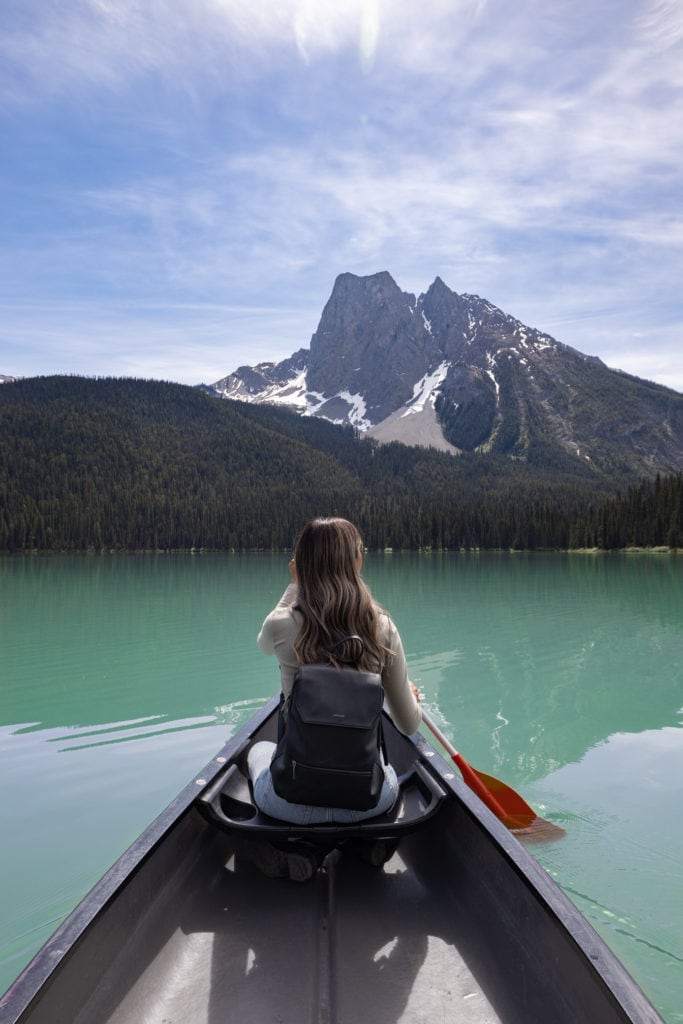
Emerald Lake is one of those places that looks so amazing in photos you think it can’t possibly live up to your expectations. But this place exceeded our expectations so much that we came back 2 more times on our trip!
Located in Yoho National Park, Emerald Lake is a little over an hour drive from Banff. It’s actually located in British Columbia, so you’ll be crossing the provincial border in order to get there.
We spotted so many bears on the side of the highway near this place (including a spirit bear!!!) so keep your eyes peeled along the way.
Canoe Rentals
Canoe rental season at Emerald Lake runs from May to October, depending on how quickly the lake thaws out. You can rent canoes at The Boathouse Trading Co, which is a trading post cabin on the left side of the bridge. It’s $75 per hour and they rent on a first come first served basis (no reservations needed in advance).
In the summer they’re open from 9am to 7pm, with the last canoe going out at 5:45pm. This is subject to change though, so be sure to double check the website here before you go.
They’re also dog friendly so feel free to bring your fur baby along!
Go for a post-paddle swim
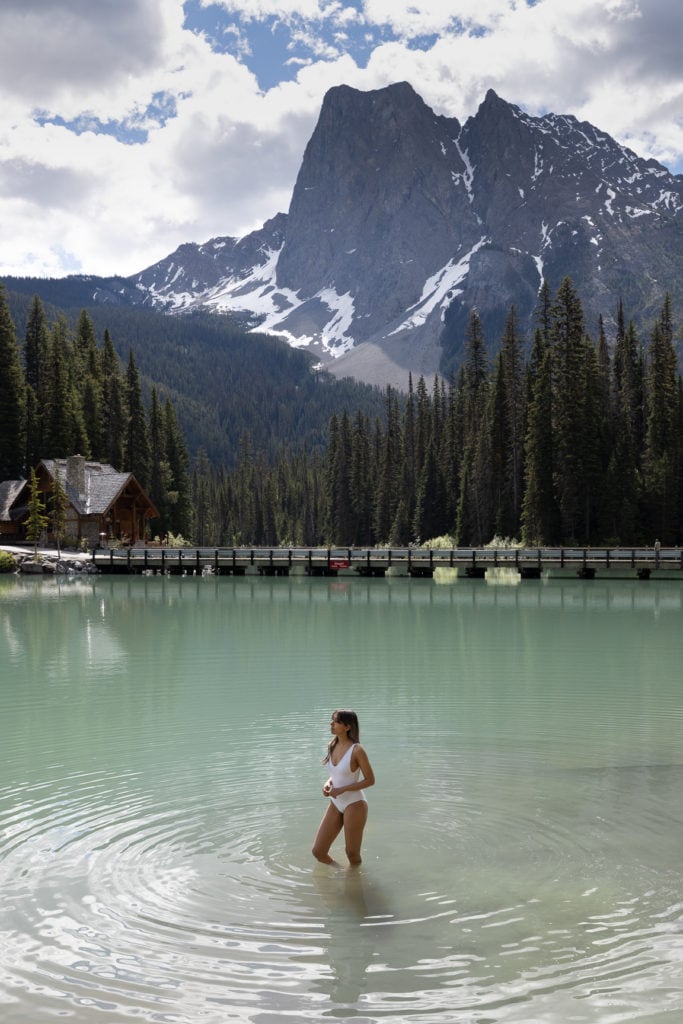
Have you ever swam in a glacial fed lake? It’s freezing, but so refreshing, and belongs on every Banff itinerary in my opinion. Emerald lake is the perfect spot to do this as the water’s a bit more calm here than in other spots.
I also saw a few people jump off the bridge here, which looked like a pretty sweet adrenaline rush.
You likely won’t be swimming for more than a few seconds at a time, but it’s such an amazing experience to be able to check off your bucket list. Just be sure to keep some warm clothes handy for when you get out.
Takkakaw Falls

Takkakaw Falls is Canada’s second tallest waterfall, and is located in Yoho National Park. It’s just a 30 minute drive from Emerald Lake, so I’d suggest visiting both in the same day.
To get to the falls, you’ll have to drive up a narrow, winding road that will lead you to the parking lot. From here, it’s just a short walk to the falls along a well groomed path.
Note: the road to Takkakaw Falls is closed in the winter (from October to June) due to poor road conditions.
Day 4: Soak in a hidden hot spring
Fairmont hidden hot spring
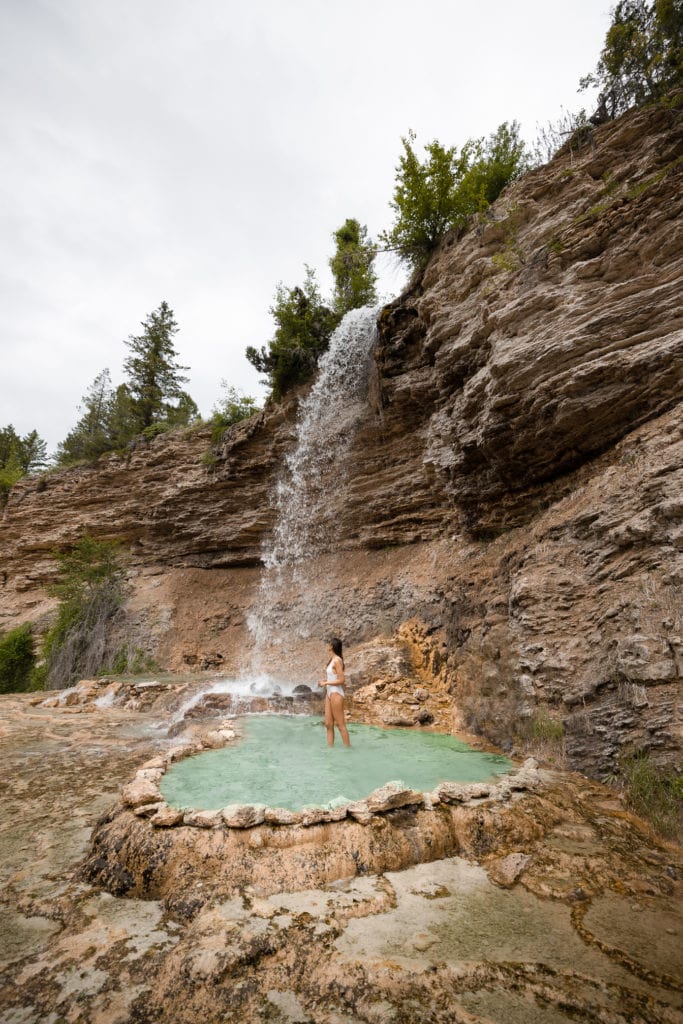
No Banff itinerary would be complete without a hidden hot spring.
In all honesty, we’re not the biggest fans of developed springs and find that they basically resemble large pools. Instead, we’d much rather seek out more natural ones and really get into that rocky mountain vibe.
Save this one for a rainy day, as there’s bound to be at least one on your trip!
Located about 2 hours from Banff, these natural springs are actually the result of the runoff from the developed pools at the Fairmont Hot Spring Resort. They’re more on the warm side rather than hot, but still warm enough to cozy up in.
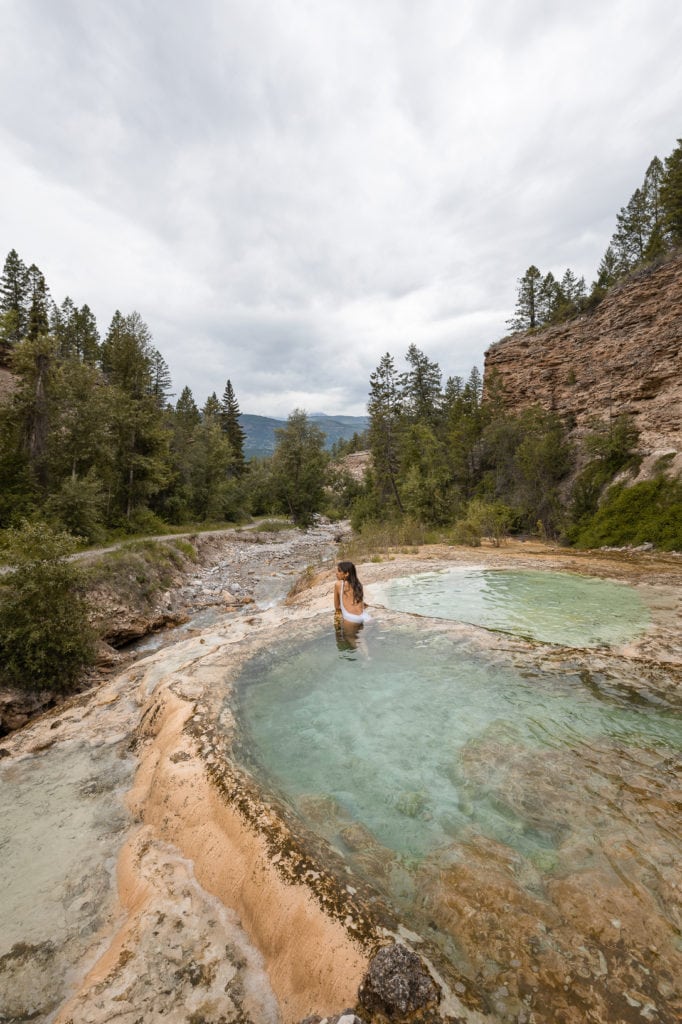
How to find the springs
Head to the East Kootenays to the Fairmont Hot Springs Resort. The natural springs are located just behind the developed pools, and share the same parking lot as the resort. You can park in the main lot for free.
From here you’re going to walk along the road toward the RV park. After about 200 meters you’ll reach a fork in the road – keep right and start to walk down the gravel path.
Note: there’s usually some kind of “do not enter” barrier where the gravel path begins – this is the Fairmont Resort not claiming responsibility for that area. It’s okay to just go around this, but use your best judgement when it comes to assessing the safety of this area.
Continue to walk down the trail another 500 meters or so and here you’ll find the springs! They’re really not far at all, and you’ll only be walking a few minutes from the parking lot.
Note: you will have to cross the creek that runs along the trail, which can be a bit tricky depending on how high the water level is. When we visited mid-June, the creek was quite low, and it was very easy to get across (just a bit slippery).
Lussier hot springs
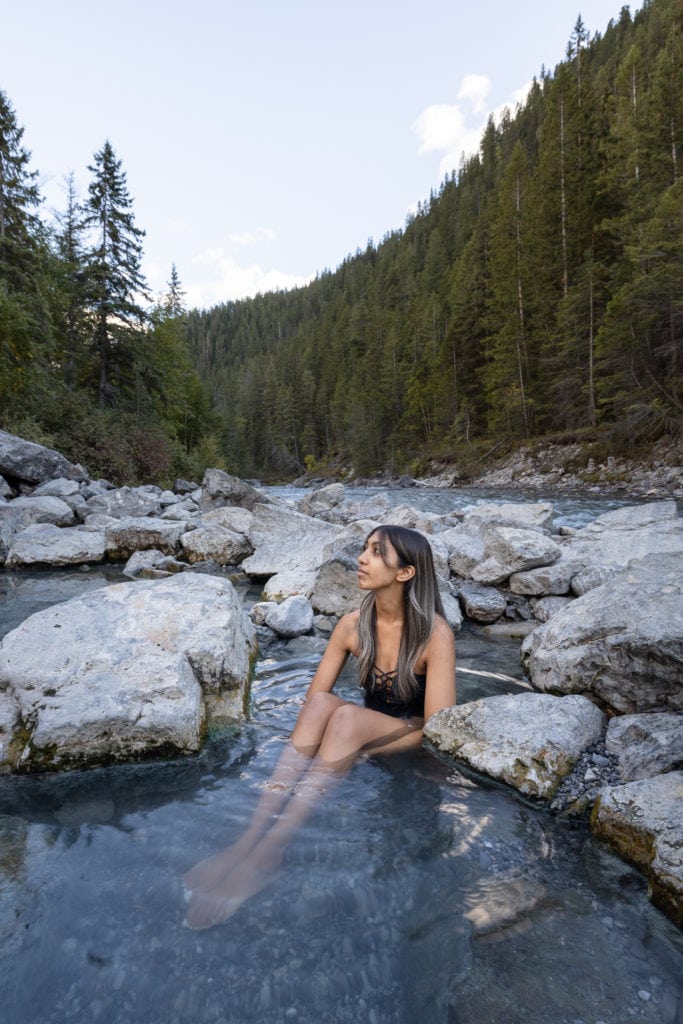
Lussier hot springs is maybe my favorite in the East Kootenays. As someone who is perpetually cold, I definitely appreciate how hot these springs get.
There are about 4 different pools that all vary in temperature, so it really is the perfect place for all seasons (the hottest pool reaches about 109 degrees!).
It’s also located next to an ice cold river, making some of the lower pools a great place to cool off if you get too hot.
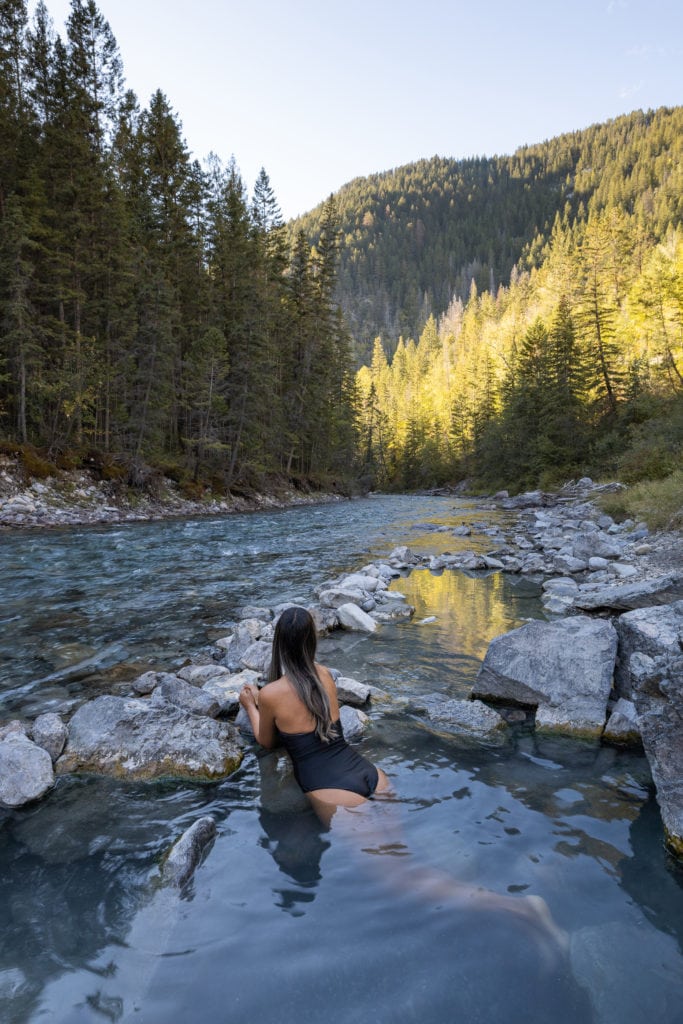
How to get to the springs
Lussier is just 40 minutes away from the Fairmont hot springs waterfall, making it a great option to visit both in the same day. You’ll have to drive down an 18km logging road, but it’s pretty well maintained as far as forest service roads go. Just be sure you have a vehicle that can handle bumpy gravel roads.
From the parking lot, you’ll walk 500 meters down a hill that will lead you straight to the springs.
Note: these springs get BUSY. If you’re visiting during peak season (July-September), try to get here as early as you can to avoid the crowds.
Day 5/6: Explore around Canmore
Canmore will always feel like home to us. It’s our favorite place in the Canadian Rockies for so many reasons. It’s only a 20 minute drive from Banff, but is much more mellow and a lot less touristy. It’s also home to some of our favorite mountains like the Three Sisters and Mount Rundle.
If you can swing it, add a few more days for Canmore in your Banff itinerary – you’re bound to fall in love with it.
Morning paddle at Rundle Forebay
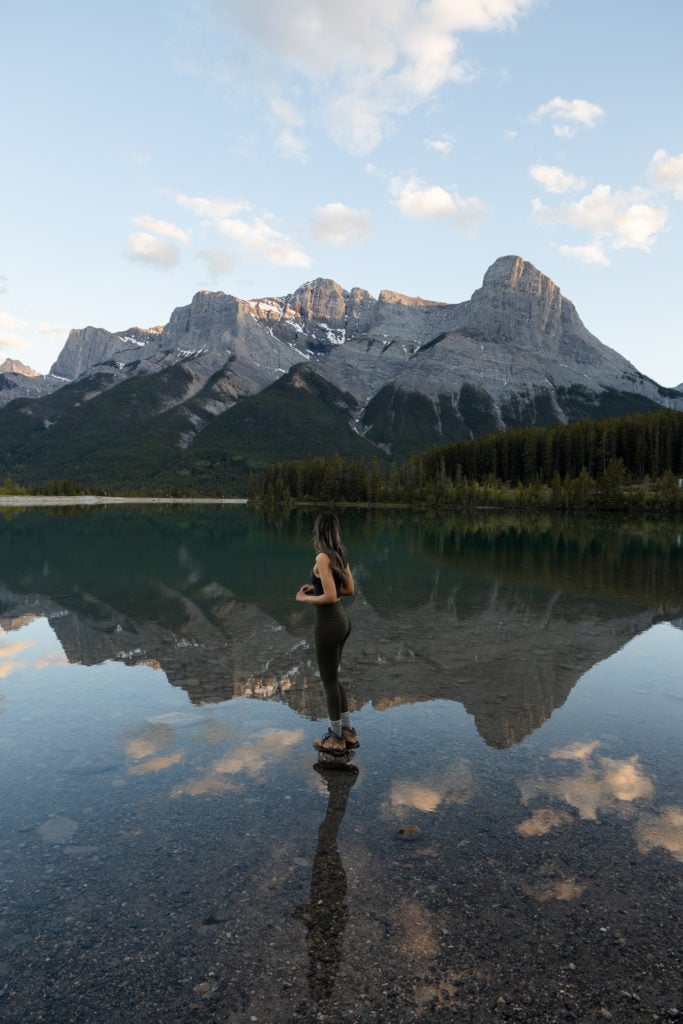
The Rundle Forebay Reservoir is just a short 8 minute drive from downtown Canmore. It’s located just across from the Canmore Nordic Center, and there’s free parking right in front of it.
We spent our morning here paddle boarding on calm waters, and watching the sun rise over Canmore’s mountains. It’s so close to the town center, that we found ourselves back here multiple times.
Note: you can rent SUP boards from Bow Valley SUP if you don’t have your own, and they offer either full day or half day rentals.
Hike up East End of Rundle (EEOR)
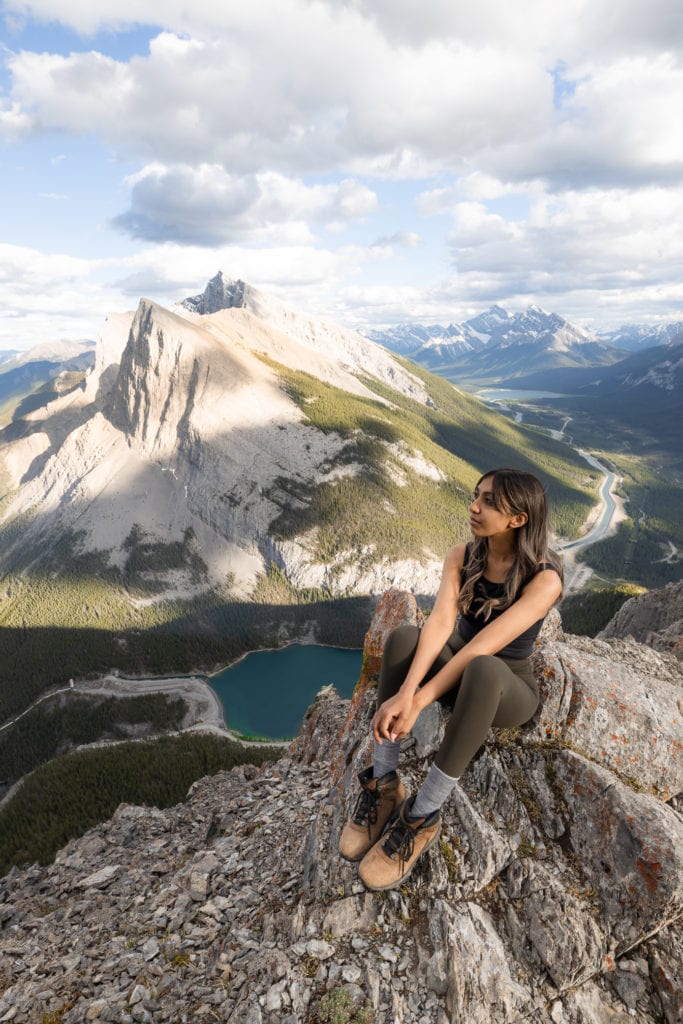
Difficulty: Hard
Distance: 5.6km out and back
Elevation gain: 872 meters
Season: June to October
Dog friendly: Yes, on leash
There’s a reason why East End of Rundle is one of Canmore’s most popular hikes. It’s a short but steep hike that gives you an incredible view of Ha Ling Peak from the top.
This was actually my very first scramble! I found it challenging, but manageable, with the hardest part being the rock scramble near the top. It was doable without hiking poles, but next time I’ll definitely be bringing a pair along.
So if you’re up for the challenge, be sure to include this hike in your Banff itinerary – it ended up being one of my favorites ever.
Where to find the trailhead
The EEOR trailhead is just a 15 minute drive from downtown Canmore.
Head up to the Goat Creek parking lot, which is at the top of a winding gravel road. There are two lots on this road, and you’re going to want to park in the second one further up (in front of the reservoir).
Note: big horn sheep frequent this road and it’s likely you’ll spot some on the way up! We often spot them hanging around the parking lots.
From here the trailhead is just across the lot, on the opposite side of the reservoir. It’s actually unmarked, so look out for a set of power poles, and just in front of them is a path leading up to the forest.
The Policeman’s Creek Boardwalk
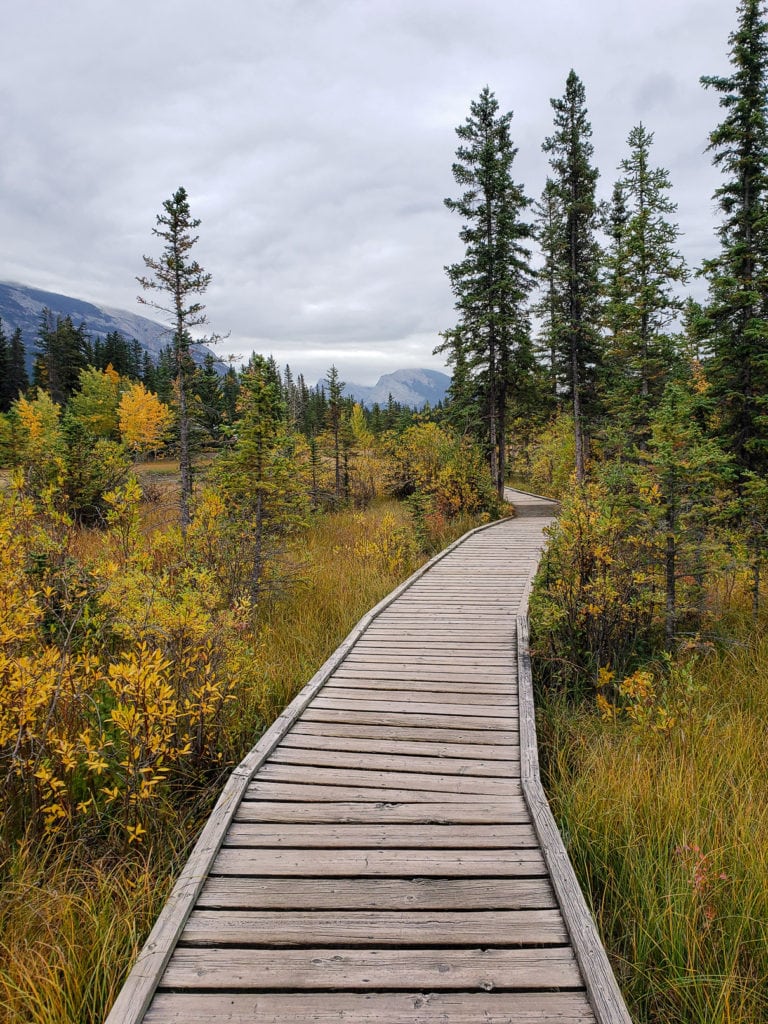
The Policeman’s Creek Boardwalk is our favorite spot for an early morning coffee stroll. It’s an easy 4.2 km trail that features a wooden boardwalk and runs right alongside of downtown Canmore.
You can access it from a few places, but my favorite spot is from 8th street, just across from the large sleeping head sculpture. This will take you about 10 minutes in one direction, but ends up in a residential part of town. We usually just circle back the way we came, so we end up back downtown.
I’d recommend grabbing a local coffee from Eclipse (in my opinion, the best coffee in Canmore) to enjoy on your walk.
Hike to Grassi Lakes
Difficulty: Easy
Distance: 4.3km loop trail
Elevation gain: 233 meters
Season: Year round
Dog friendly: Yes, on leash
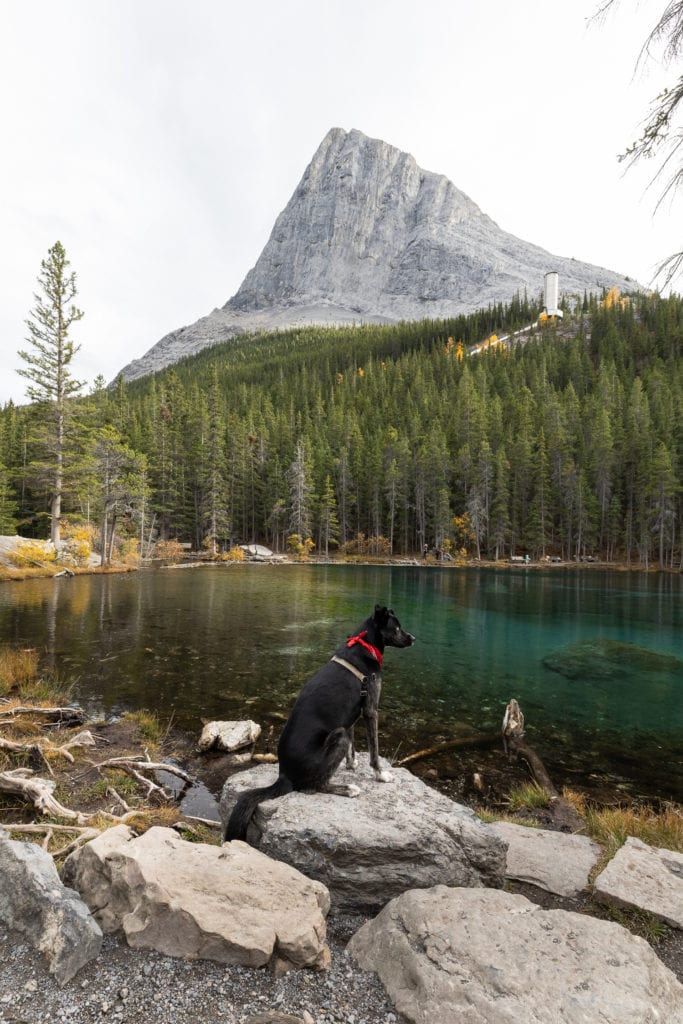
If you’re looking for an easy hike to add to your Banff itinerary, Grassi Lakes is a great option.
There are a few ways to do this one. About 100 meters in, you’ll come to a fork in the trail where you can either go right for an easier hike, or left, for a more difficult option. We opted to take the easy route up, and go down the difficult way.
You’ll only be hiking for about half an hour before you reach a beautiful turquoise lake right in the middle of a forest. You’ll also get a great view of Ha Ling Peak from the lake as well!
Note: the more difficult route is inaccessible in the winter months, so you’ll be doing this as an out and back route via the easy trail.
What to know before heading to Banff
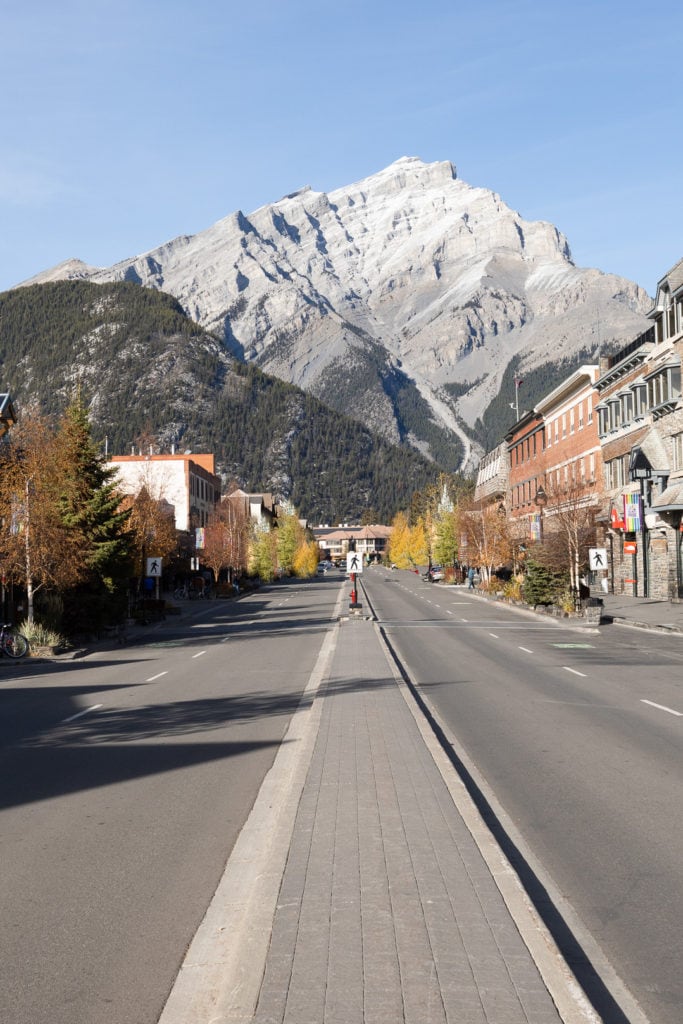
There are a few things that you’ll want to prepare as you’re planning out your Banff itinerary.
Purchase a National Parks Pass
The Discovery Pass is Canada’s National Parks Pass and is required if you’re stopping in any national park (Banff, Yoho, Jasper, Kootenay, etc).
It can be purchased as either a daily or yearly pass, and must be displayed in your car during your visit.
Kananaskis Conservation Pass
This one is relatively new, and was introduced this summer of 2021. You’ll need this pass if you’re doing any hiking in Kananaskis Country (including EEOR, and Grassi Lakes).
Similar to the National Parks Pass, this can be purchased as either a daily, or yearly pass. You can either buy your pass online, or at the Kananaskis Visitor Information Center.
This pass just registers your license plate, so there’s no physical pass involved.
Best time of year to visit Banff
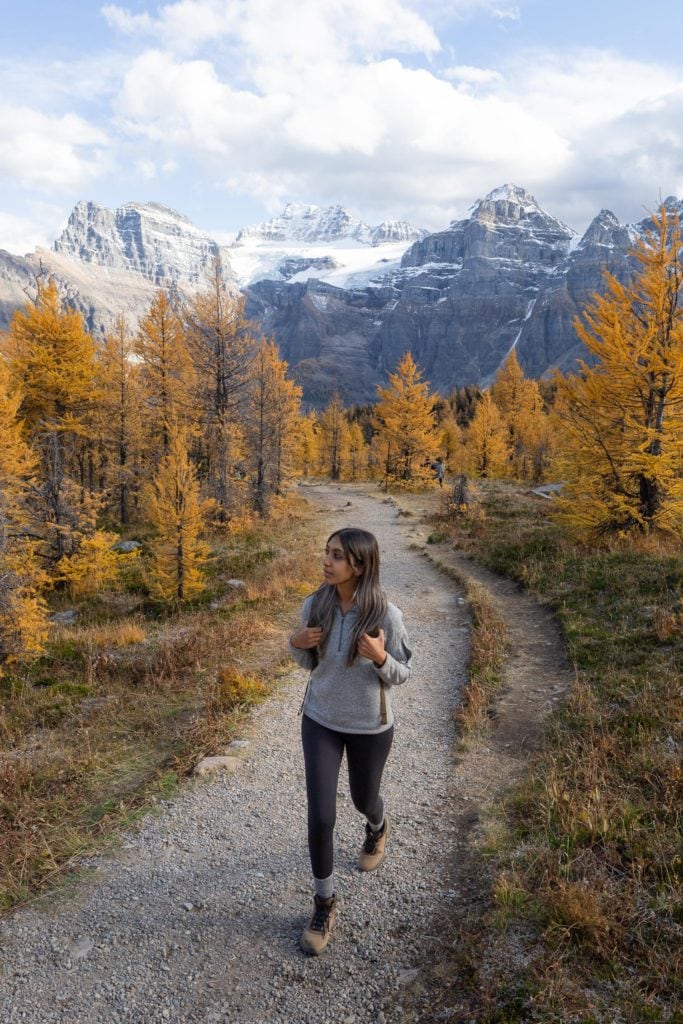
Banff is so beautiful year round, that you really can’t go wrong during any season. What time of year you decide to visit will really depend on the type of activities you plan on doing here.
Hiking season
Hiking season in Banff runs from July to about mid-September. The trails are mostly clear of snow at this time and the frozen lakes usually thaw out by the end of June.
Keep in mind that this is usually the busiest time of year in Banff, so you’ll likely encounter a large amount of crowds in the summer season.
Larch season
If you don’t know what larches are, they are deciduous conifers that lose their needles in the winter, turning bright yellow for a few weeks in the fall. This year was my first experience with larches in the Rockies, and I must say, it was pretty magical.
It is, however, hard to predict.
Typically the larches will reach their peak during the last week of September and can last about 2 weeks, but it really just depends on what kind of fall we’re having.
Larch season is also an extremely busy time of year, but for a good reason.
Winter season
Banff is like a real life Narnia in the winter season. The obvious attraction is the ski slopes, as the mountains turn into a wonderland for winter sports.
But if the slopes aren’t your thing, you can spend plenty of time admiring Banff’s snowy mountains and frozen lakes. It’s also a great time of year to cozy up in some hot springs.
A few tips for your Banff itinerary…
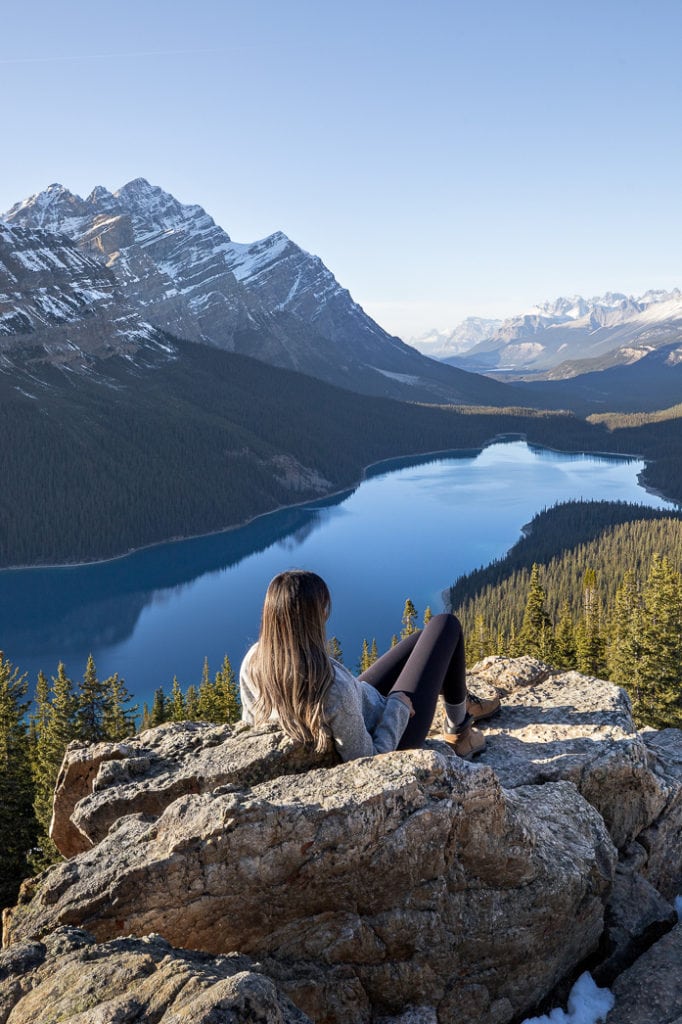
Download the Alltrails app
No Banff itinerary would be complete without a few hikes, and to help you navigate along the trail, I’d recommend downloading a trail map to your phone.
I use the paid version of Alltrails, which allows you to download a map to track your movements along your hike. It’s so useful and I use it on every single hike I go on (not sponsored whatsoever, I just truly find so much value in this app).
A note on bear safety
You’re officially in bear country! Along with many other wild animals, this is their home, and you have to respect that you’re the visitor.
If you do happen to see any wildlife, remain calm, give them lots of space and never approach them. Not only for your own safety, but for theirs as well.
Click here for some great safety tips that will help you prepare as you navigate through bear country.
Practice leave no trace principles
You’re going to be exploring some environmentally sensitive areas in and around Banff, so it’s important to reduce our impact on nature when we’re visiting these sites.
Familiarize yourself with the 7 leave no trace principles so we can preserve these areas and leave them just as we found them.
This Banff itinerary is technically made for 6 days, but you can always stretch it out a little longer. I usually end up thanking myself when I leave a few days in between for resting, or exploring around town.
But if you’re eager to fill up your days, then this Banff itinerary will do just that. It’s jam packed with all of my favorite things to do in and around Banff, and I think you’ll enjoy it just as much as I do!
Pin for later!
Leave a Reply